# Assign a task
Assign a task to a user will help you in several ways:
- You know exactly who is doing what
- The user knows what they have to do
- they can enter a time log per task
- You can see perusers what they have to do
- You can see the task groups by users on the detailed tasks type page
- you have an overview of your studio thanks to the team schedule
- You can forecast the speed of your team
- you can see the real speed of your team
# Add a User to the Team
In the Introductions to Kitsu Basics - Preparation of your Team, we cover how to add people to Kitsu, set them a permission level, and link them to a department.
You need to add someone to a production to assign him a task.
On the dropdown menu at the top of the page, select the TEAM page.
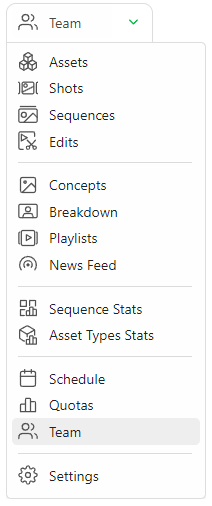
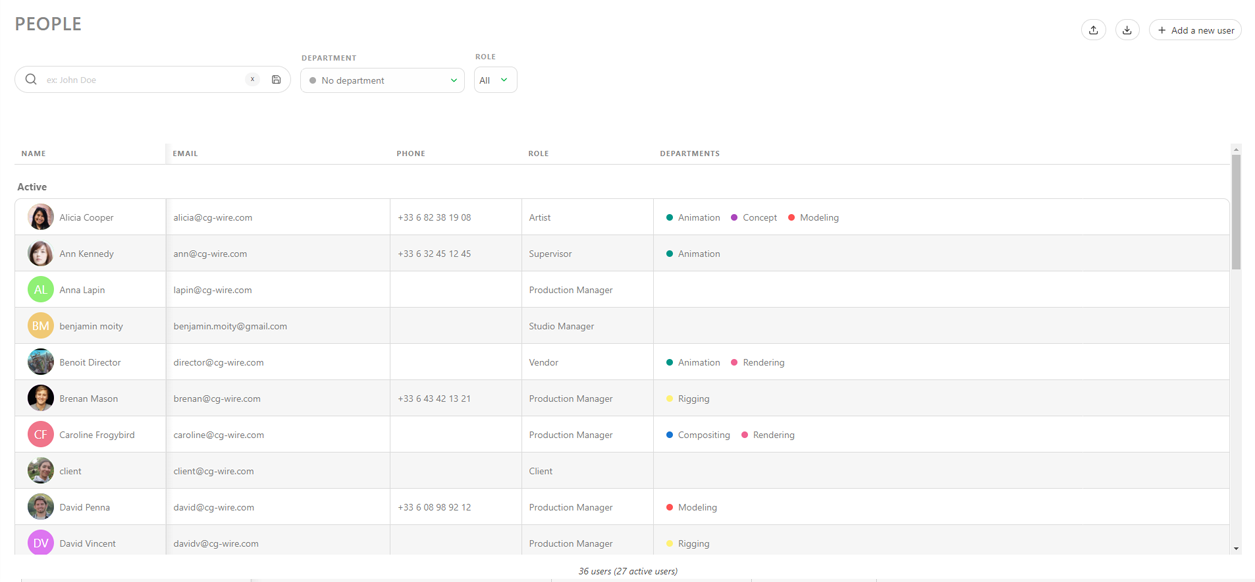
On the Team page, you can see all the assignations for a specific project. Switch to the page's top to check another project team.
WARNING
Permission and department are set to the Studio Level. You can't adjust it at the production level.
# Assign Tasks from global page
We can now return to an entity page via the dropdown menu (asset/shot/sequence/episode/edit)
Now it's time to do your first assignment!
Click on the task (1) you want to assign.
Definition
A task is the intersection of an Entity and a Task Type.
It's visually represented in Kitsu by the Status of the task cell.

The comment panel appears on the right of the screen with the action tools.
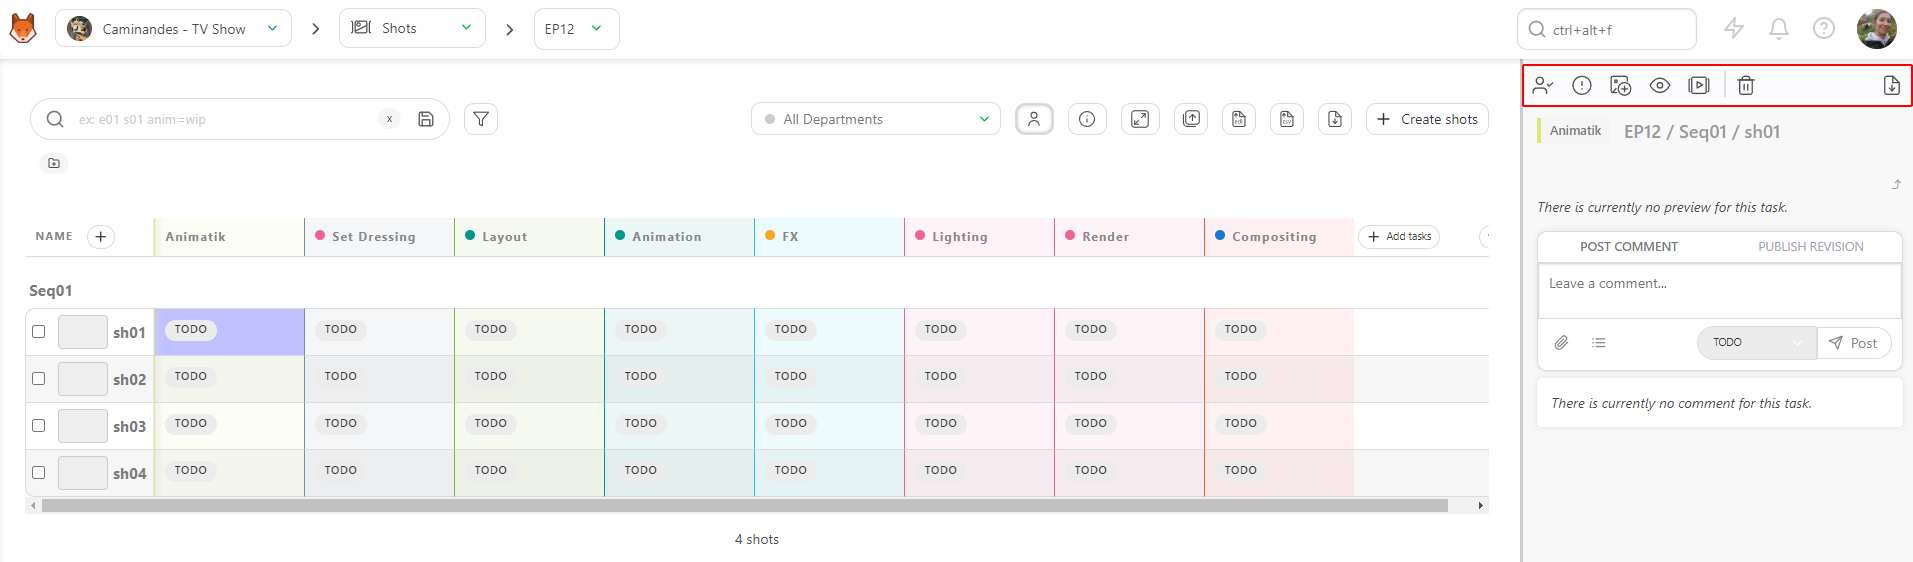
You can now do the assignment. Click on the text input to see the list of available people. Click on a person's name to perform and select him. Then click on the confirmation button to complete the assignment.

You can assign tasks to the same person in one step (1). Once the blue menu is visible, press ctrl on your Keyboard and select multiple tasks. You can even use the shift key to choose a range of tasks (2). When you have chosen everything you need, apply with the Confirm button.
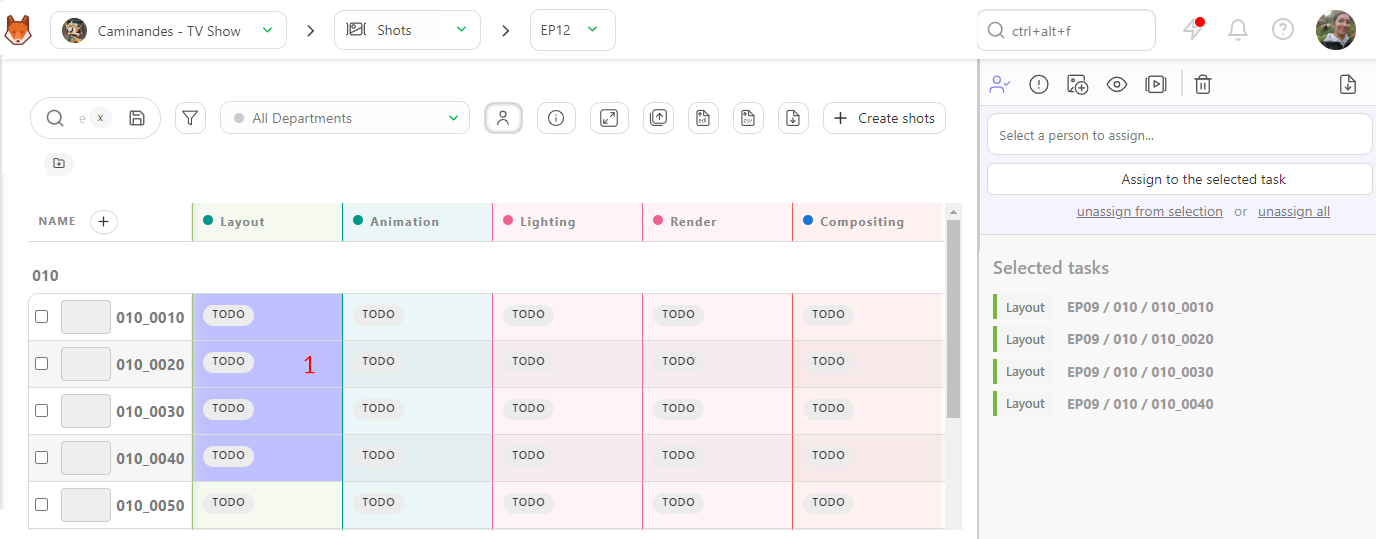
In the same way, once you have selected someone, you can click on or unassign from selection to remove this assignation.
When you finish all the assignations, quit this mode using the Escape key, or the cross on the top right corner of the action box.
Now, you can see the artist's avatar next to each Status.
To unclutter the list, you can hide this information with the Hide
assignations button on the top of the spreadsheet  .
.
Once you assign someone, he is part of the production team. Depending In his position (Artist, Supervisor, Vendor), he only sees the production where he's assigned.
Now, everybody knows what to do and who is doing what!
# Assign tasks from the detailed Task Type page
You can decide to assign tasks from the detailed task type page. The advantage is that you can focus on only one task type and have more information, such as the length of a shot, or focus on a specific asset type.
In the Detailed Task Type page, click on a status to open the comment panel.
From here, you have the same option as for the global page.
You can select one or several tasks simultaneously to assign a user.